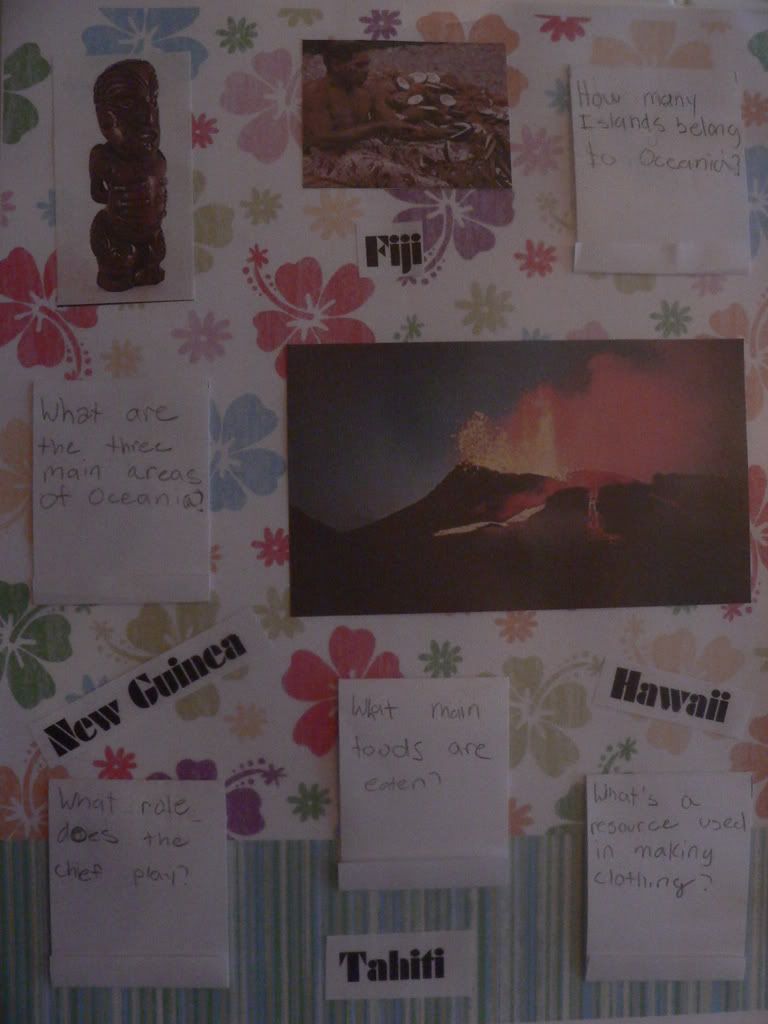
Anatomy of a Notebook Page
Today Miss M decided to create her first notebook page of the (5th grade!) year. She would like to present it here!
Together we would like to show you show how she put together her page. We'll try to go step by step and show pictures – I am a visual person, as you can see by all my posts! : )
Step 1:
Learn about a history, science, or other topic. That should be a no-brainer, we do it all the time, right? Here's the clincher: schedule in a couple of hours to notebook about it. Include any writing or copywork you have done and create a beautiful page or pages to enhance it.
Step 2:
Mommy Prep. : )
Mom's involvement will depend on the ages and abilities of your children. If your child is younger, you do more prep, and as they get older they take the reigns and do almost everything themselves. Miss M is a new 5th grader this year, and here is what I did to get ready for a smooth notebooking session:
-
Chose and printed out decorative paper. I tend to scrounge around for mine at sites like Shabby Princess Free Digital Page Kit Downloads

-
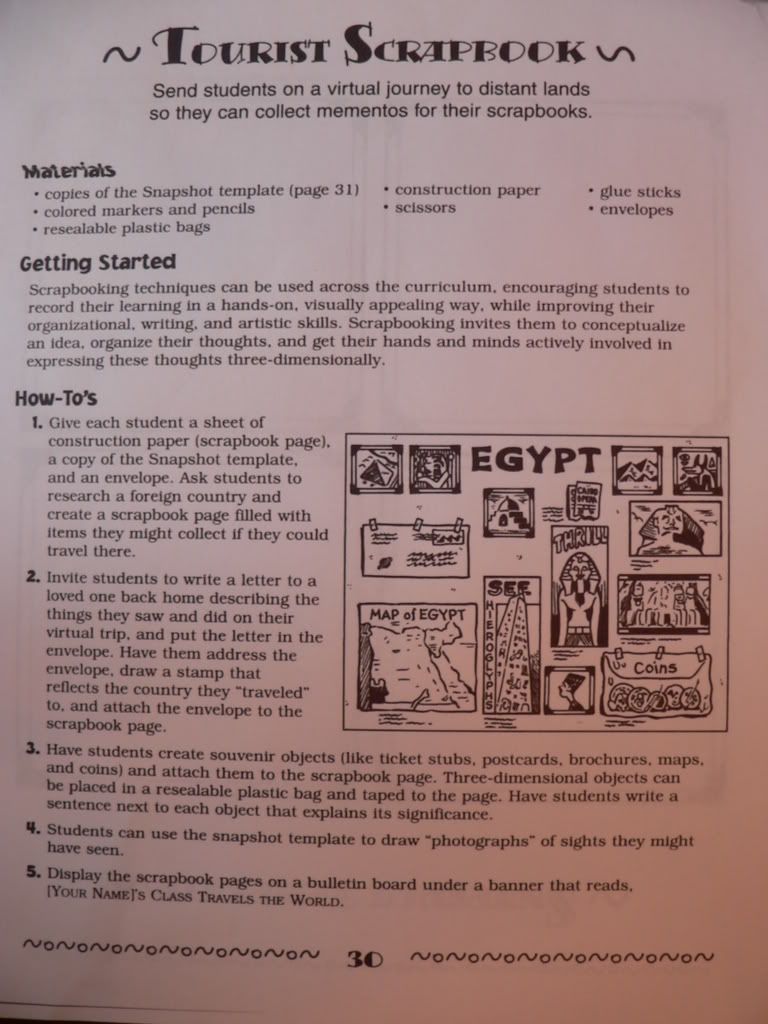
Provided copied directions for the notebook project, using a page from Country Report Projects for Any Country by Scholastic. Another good place where your child can see directions for pages is ScrapbookingtoLearn.com.
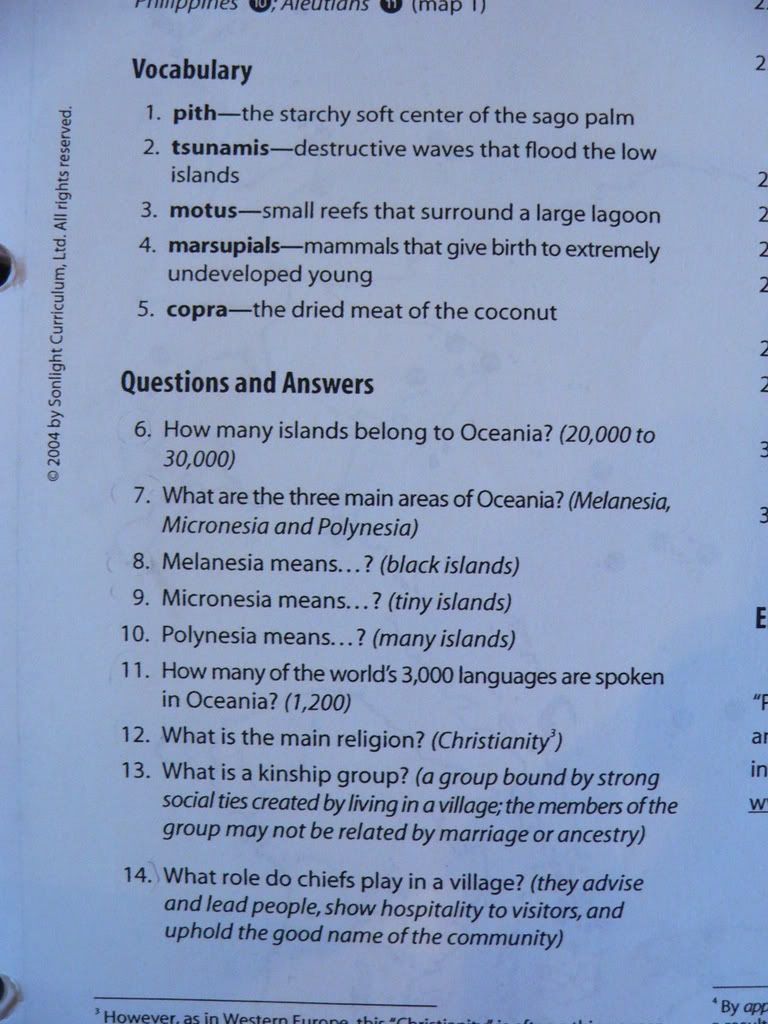
Provided questions (we have previously gone over) from our Sonlight 5 curriculum. Textbook questions work well too. Miss M uses them to create Question and Answer matchbook mini-booklets. (Another option is a written paragraph or sentences about the topic.)
Step 3:
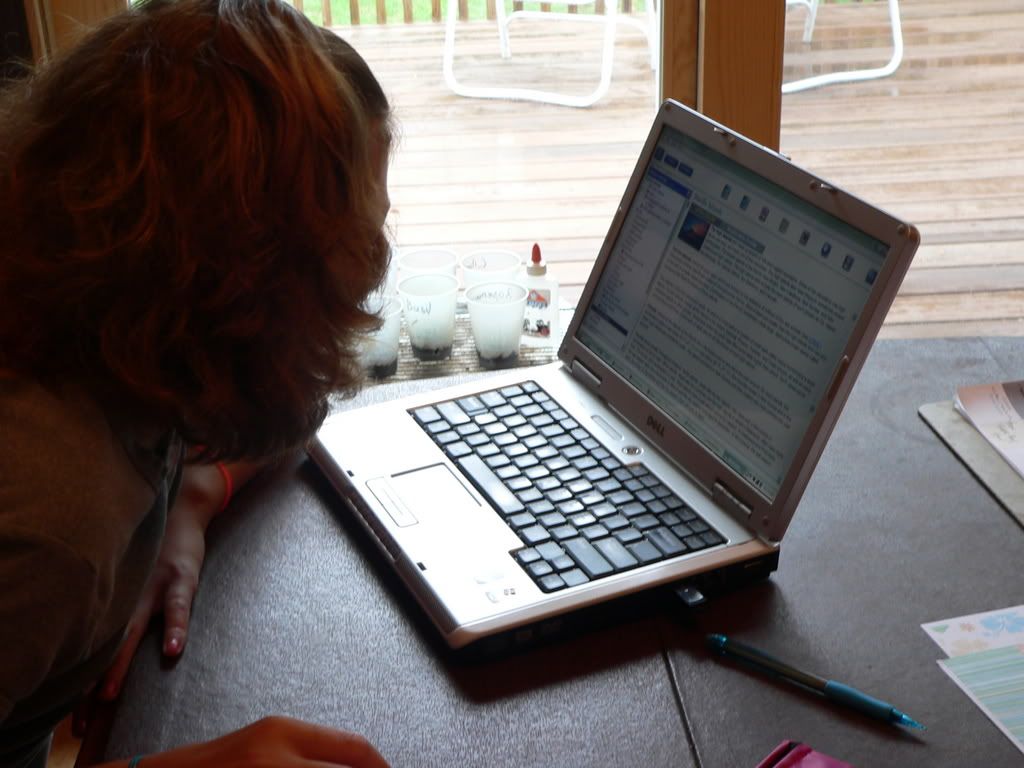
Using Google, books, digital encyclopedia, or purchased software, acquire 1 or more images for your page. (Miss M is using the World Book recommended in Sonlight 5)
Step 4:
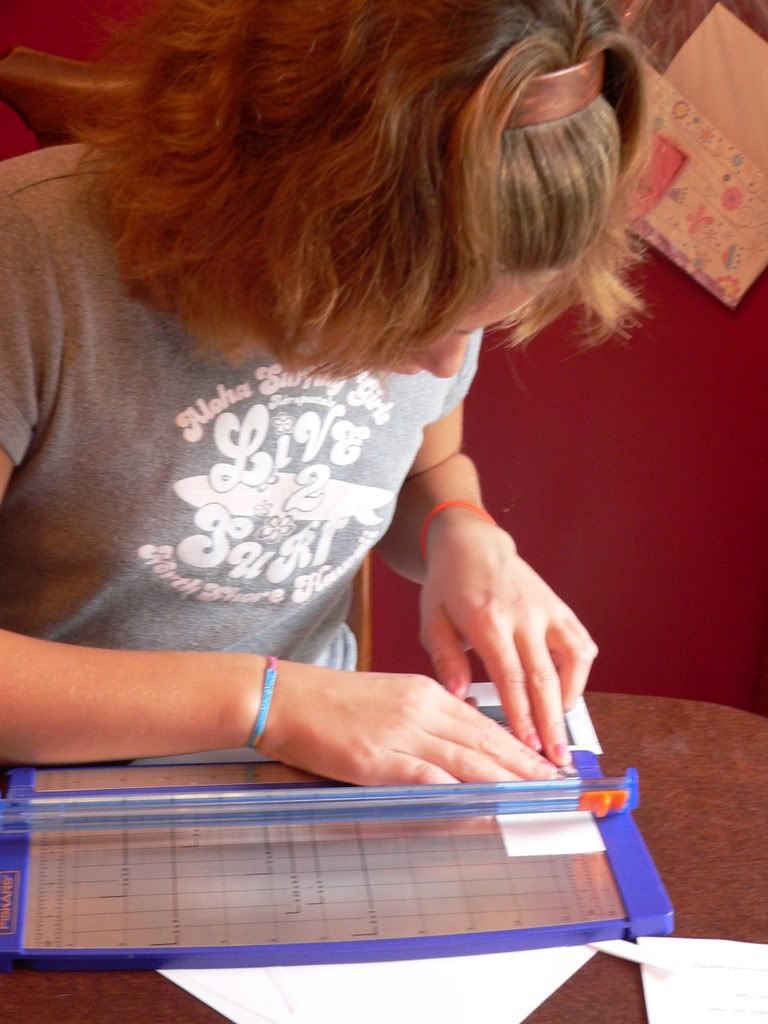
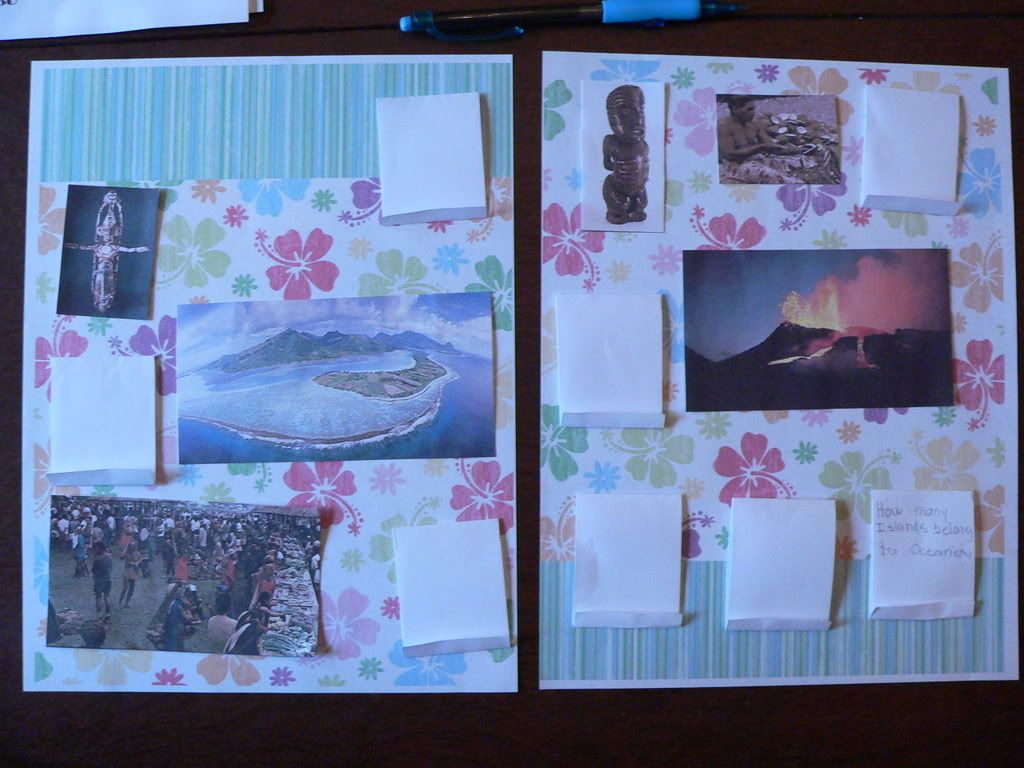
Cut images out and arrange on page. Don't glue yet!!!
Step 5:
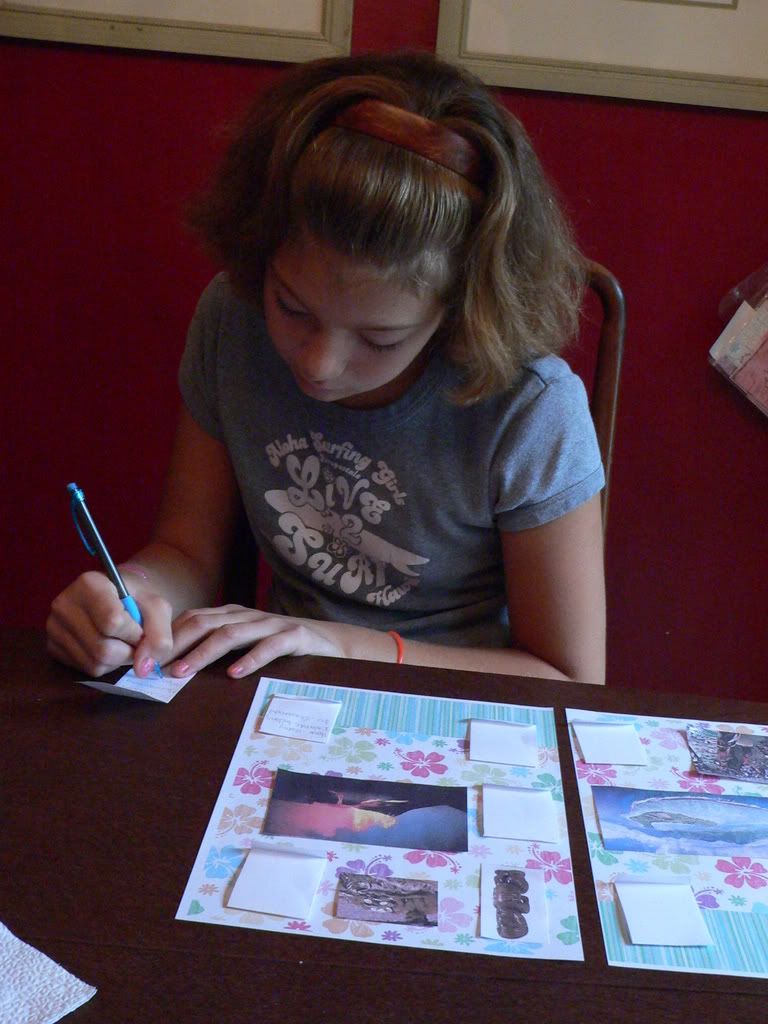
Add writing. This week we didn't do any, so Miss M made question and answer match books using some Sonlight 5 discussion questions. Arrange writing with images until you are satisfied. Don't glue yet!!!
Step 6:
Add title, and any optional decorative embellishments such as photo corners, stickers, buttons, etc. Ours was pretty simple. When you are happy with how it looks you can finally glue it down!
When your beautiful new page is dry, add to your notebook (we use a binder full of blank page protectors) and you'll have something you can be proudly show off to family and friends. Kids love notebooking most when some of the (boring!) prep is done and they get to do the creative part. Moms love notebooking because it serves as a systematic record and review of what has been learned! Love, love, love looking back at our notebooks over the years. If you've never tried it, have a go at it this week. Maybe the notebooking bug will bite you, too!
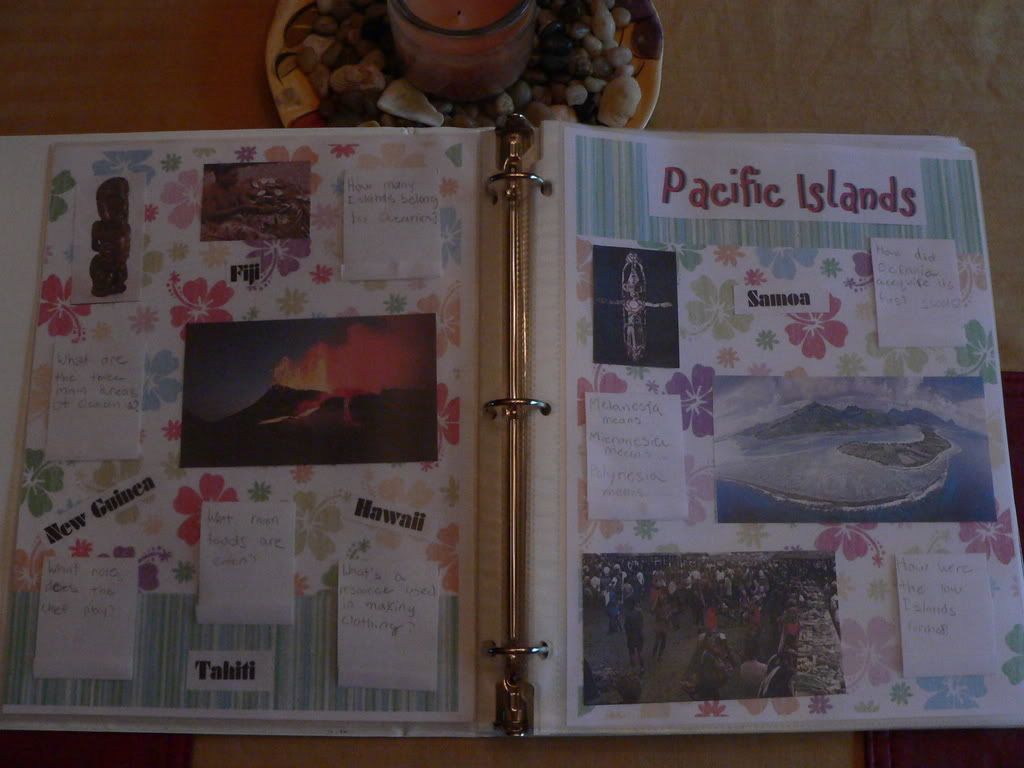
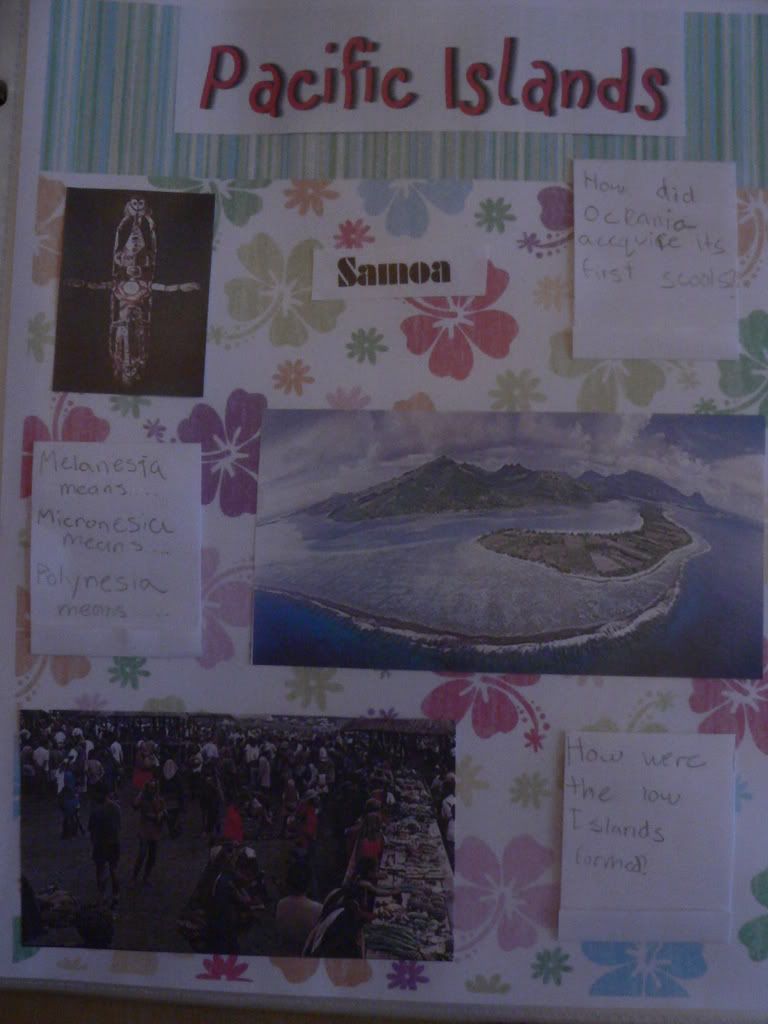
P.S. --Miss M says she hopes you liked her 'Pacific Islands' page!


 >
>
14 comments:
Great instructions, Tami! I love how you are using the questions from Sonlight to do the mini-books.
Can I come to school at your house? :)
Rhonda
That's beautiful! Great job, thanks so much for showing us!
Melissa
Looks great! I noticed Tonga is missing from your Pacific Islands pages. I don't get many opportunities to give a "shout out" to the Friendly Islands:O) Thank you for sharing!
Christina
That is a beautiful page, Miss M! I have 2 girls who I think would love to do notebook pages like yours (especially if the some of the boring prep part was done by me!). Thanks for sharing your first notebook of 5th grade!
Lee (from the WTM board)
PS Would your mom be willing to put just the instructions into a single document like she's done with someother forms?? :)
Beautiful, my kids loved it too (thanks, grumble... *grin*). Seriously, my dd7 has enjoyed your last two posts with pictures of your dd. Thank you for sharing your dd's beautiful work.
Keep this up and you'll have a gorgeous history notebook at the end of the year. Thank you for motivating my dd7! She sees your work and wants to be like you.
:) Blessings
Jessica- Mom to dd7 and ds3
It looks great! I think my homeschool would look a lot different if I had girls instead of boys! We do lapbooks though if I do most of the work for them :)
Miss M, I think you did a fantastic job! Way to go for your 1st page of the school year. Tami, your directions were great. I think I may be able to do this with my dd13. It will be a great way to display her writing assignments.
Beth in TN
The pages look wonderful! What an amazing job! My dd (11) would love to come over and school with you.*Ü*
We can't wait to see what you do next!
Thanks for sharing {{Miss M and Mom}}! *Ü*
~Tina in WA
Beutiful work, Miss M! My 12 yo son will be starting Sonlight 5 in a couple weeks, and it's fun to see what you've done with it. I wonder if I could get him to make scrapbook pages? Somehow I doubt it!
Michele T. in WA, aka Maverick from TWTM boards
Great job Miss M! Loved your pages and looking forward to seeing more. Your homeschool seems so neat! Keep up the good work!
StacyTea :-)
I love the idea of using scrapbooks in homeschooling. I am an avid scrapbooker and am really impressed with how you've translated it to homeschooling.
Great job on those scrapbook pages Miss M!
Love the page. Miss M did a wonderful job as usual...
later sis....
Joy
Awesome work, Miss M!
So when do we get to do nature walks again?
Great job!!! Can't wait to show this to my kids. Hope they'll get the bug for it too!!!
Thanks for sharing.
Post a Comment