Saturday, August 25, 2007

GONE FISHIN'

Day 1 - We are up in the north woods playing with black bears and catching fish. I will post pics of our trip if I get a chance! Here are some photos. And, of COURSE, I made sure our cabin has wireless internet access before we booked it. I love the North Woods and all, but let's not go crazy. : )
Day 2 - Horses! Horses! We checked out a local historic site and discovered they had Logging Days going on, complete with horse and ox pulls! The horses were giGANTic and absolutely magnificent to behold - mostly Perchons and Clydesdales.

Day 3 - It rained all day, so we changed our plans to go to a State Park. After sleeping in and a leisurely breakfast, we gathered up our laundry and went to the local Laundromat. Fortunately, there was a friendly gray cat there to play with Miss M. She just loves cats! To pass the time while our clothes were drying, we played a mean game of BunkO. Since it was still raining after that, we did a little shopping and decided to try our luck bowling at the 'Blueberry Bowl.' Incidentallly, 'Blueberry Bowl' is also home to 'Blueberry Pizza,' one of TWO restaurants in town. The pizza was delicious, but my bowling stunk!

When we got back to our cabin I was grateful that I had thrown some pork shoulder to make carnitas in the crock pot, so dinner was waiting for us. (Well, we only had a SMALL pizza -- it was an appetizer!) Truth be told, I DO tend to eat so much more when on vacation then when I am at home - but that is another post for another time. : ) Anyway, after dinner was cleaned up, it was still raining, so we just watched a movie in our cabin. It was a mellow, wet day here in the North Woods.


Wednesday, August 22, 2007


Anatomy of a Noteb
ook Page


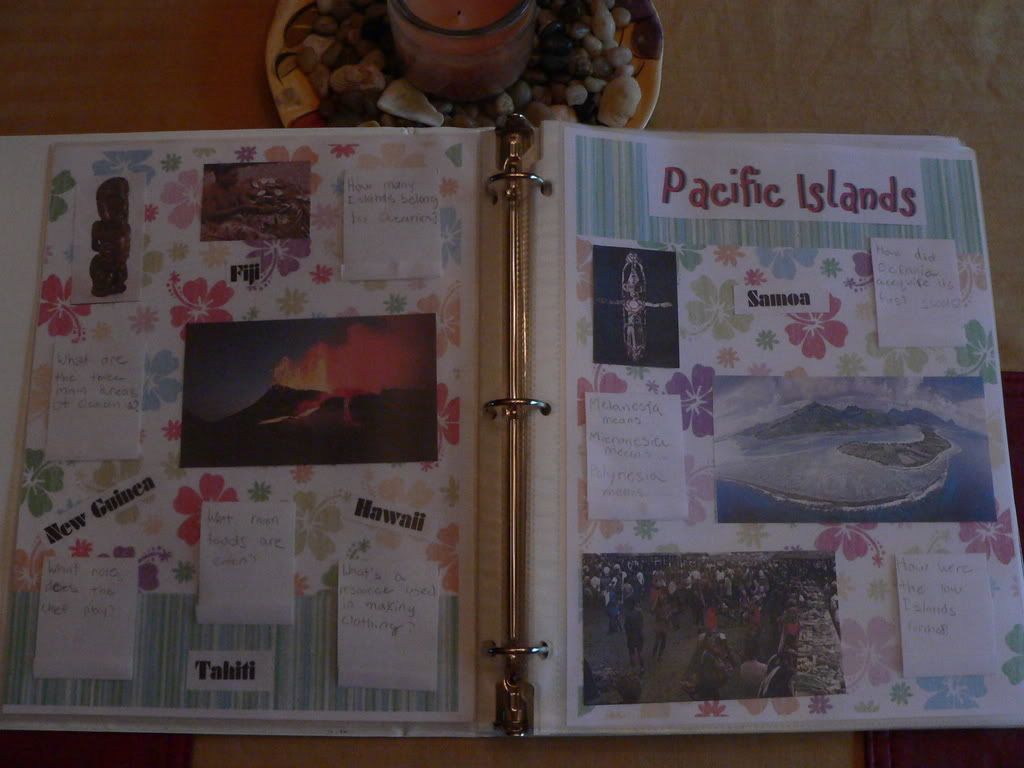
Today Miss M decided to create her first notebook page of the (5th grade!) year. She would like to present it here!


Together we would like to show you show how she put together her page. We'll try to go step by step and show pictures – I am a visual person, as you can see by all my posts! : )

Step 1:
Learn about a history, science, or other topic. That should be a no-brainer, we do it all the time, righ
t? Here's the clincher: schedule in a couple of hours to notebook about it. Include any writing or copywork you have done and create a beautiful page or pages to enhance it.


Step 2:
Mommy Prep. : )
Mom's involvement will depend on the ages and abilities of your children. If your child is youn
ger, you do more prep, and as they get older they take the reigns and do almost everything themselves. Miss M is a new 5th grader this year, and here is what I did to get ready for a smooth notebooking session:

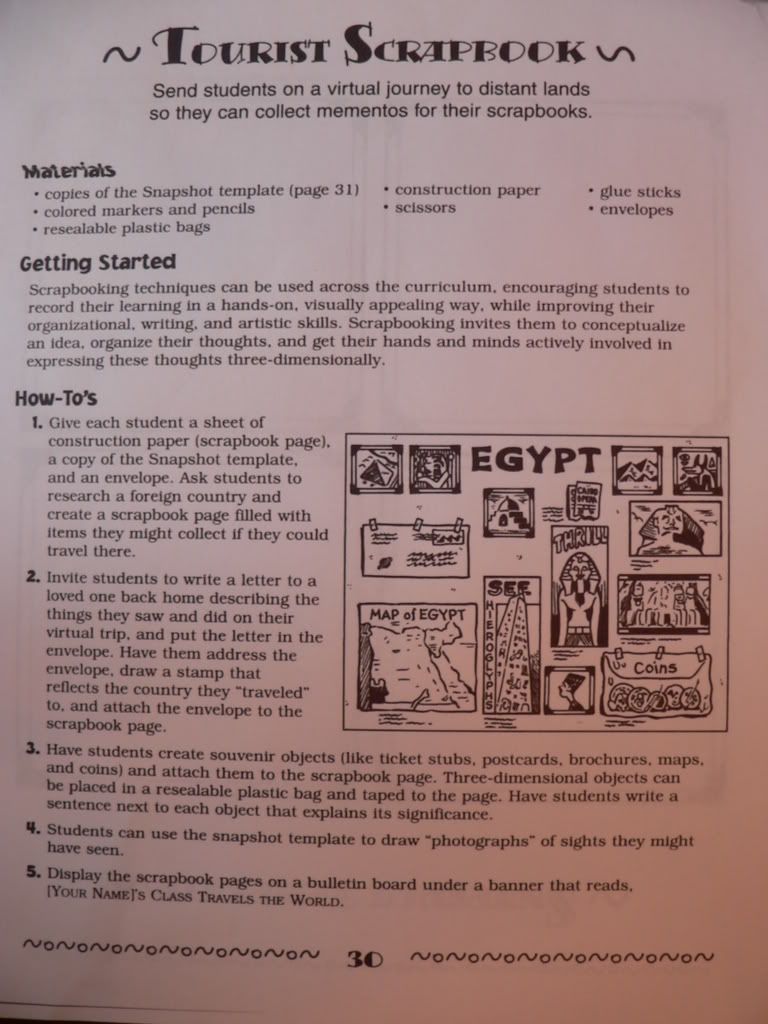
  • Provided copied directions for the notebook project, using a page from Country Report Projects for Any Country by Scholastic. Another good place where your child can see directions for pages is ScrapbookingtoLearn.com.

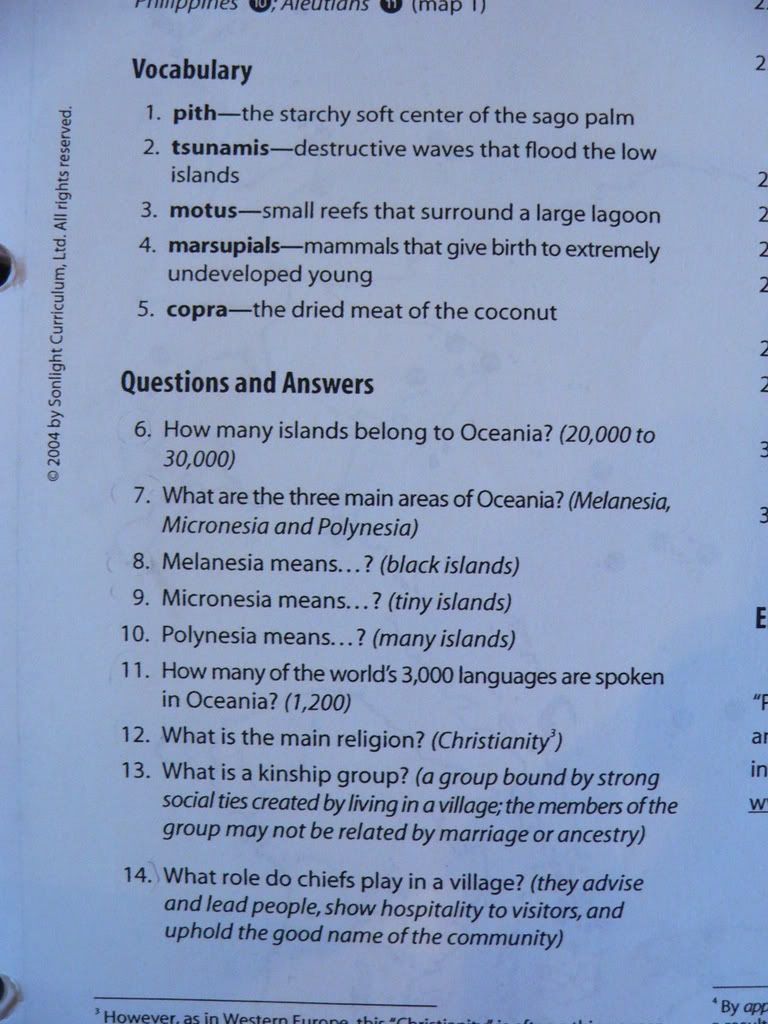
  • Provided questions (we have previously gone over) from our Sonlight 5 curriculum. Textbook questions work well too. Miss M uses them to create Question and Answer matchbook mini-booklets. (Another option is a written paragraph or sentences about the topic.)

Step 3:

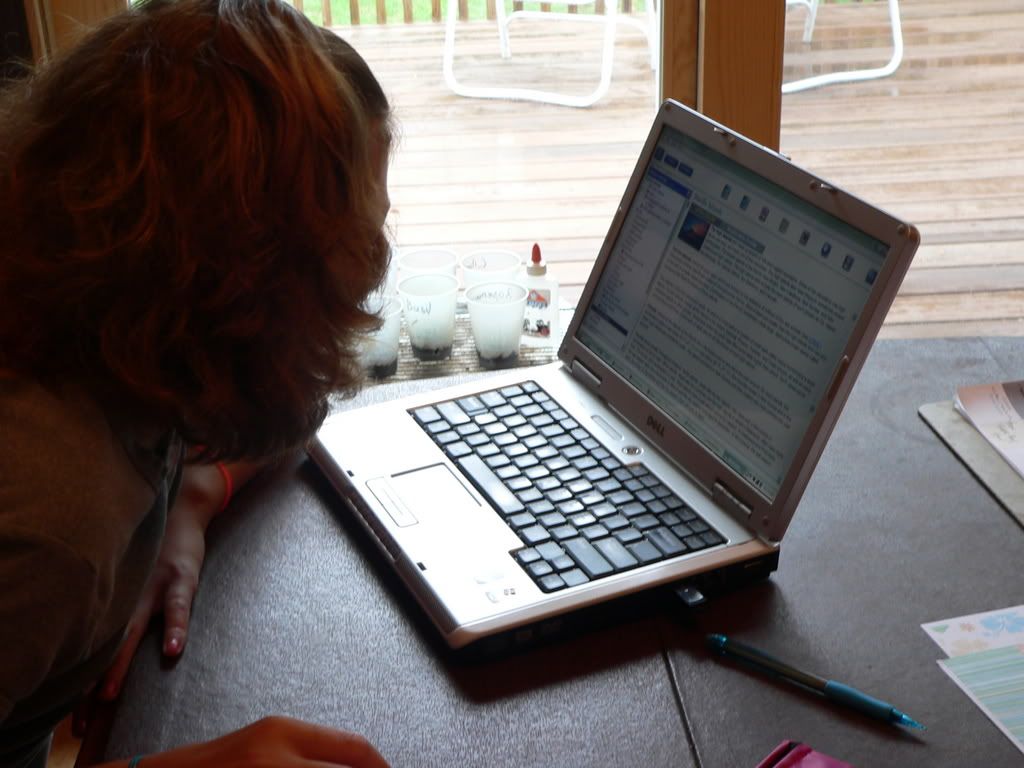
Using Google, books, digital encyclopedia, or purchased software, acquire 1 or more images for your page. (Miss M is using the World Book recommended in Sonlight 5)

Step 4:
Cut images out and arrange on page. Don't glue yet!!!

Photo Sharing and Video Hosting at Photobucket

Step 5:
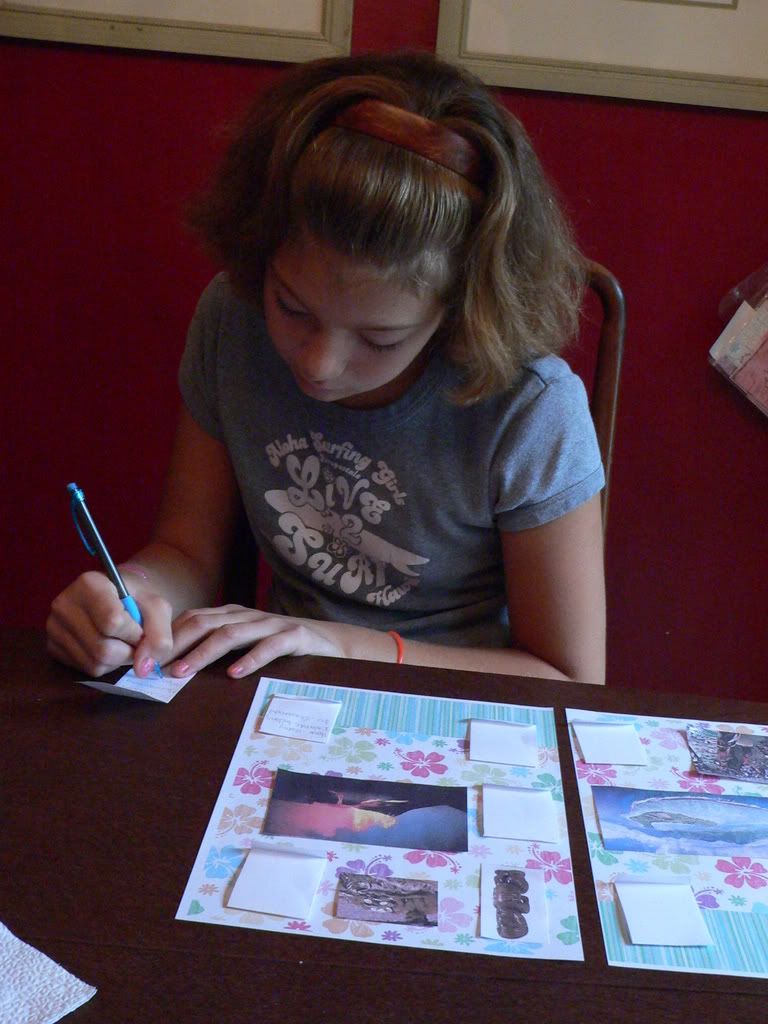
Add writing. This week we didn't do any, so Miss M made question and answer match books using some Sonlight 5 discussion questions. Arrange writing with images until you are satisfied. Don't glue yet!!!


Photo Sharing and Video Hosting at Photobucket

Step 6:
Add title, and any optional decorative embellishments such as photo corners, stickers, buttons, etc. Ours was pretty simple. When you are happy with how it looks you can finally glue it down!


Photo Sharing and Video Hosting at Photobucket


Photo Sharing and Video Hosting at Photobucket


When your beautiful new page is dry, add to your notebook (we use a binder full of blank page protectors) and you'll have something you can be proudly show off to family and friends. Kids love notebooking most when some of the (boring!) prep is done and they get to do the creative part. Moms love notebooking because it serves as a systematic record and review of what has been learned! Love, love, love looking back at our notebooks over the years. If you've never tried it, have a go at it this week. Maybe the notebooking bug will bite you, too!


P.S. --Miss M says she hopes you liked her 'Pacific Islands' page!


Tuesday, August 21, 2007


Back to School: Week 2
In Which Miss M Makes Siapo Cloth

We survived our first week of school last week! Today was the beginning of our second week, and the only subject I added was Bible. I am too much of a wimp to add in Math or English. It is enough to try to get back into the routine of school for now. We are keeping our day pretty light and fluffy so far. : )

Our day today went fairly smoothly, although I overslept this morning and got started a bit later than I would have liked. Miss M got up fairly willingly, and that is always a good sign.

Here was our day ended up:

9-10:00 am - Sonlight 5 reading

10:00-10:15 - Memory Work and Poetry

10:15-10:30 - Copywork and Composer Study

10:30-10:45 - free time

10:45-11:00- Bible

11:00-11:30 - chores

11:30-12:00 - Sonlight 5 World Book reading on computer (2 days' worth)

LUNCH

Productive Free Time - (Miss M chose to make an art project, did science reading, did a paid chore, crafted a home-made bulletin board)


Our second week is feeling more 'normal.' We are slowly getting into the swing of things again. I am pretty satisfied. Maybe I will get up the nerve to start math next week? Gulp.

How is your week going?


Sunday, August 19, 2007


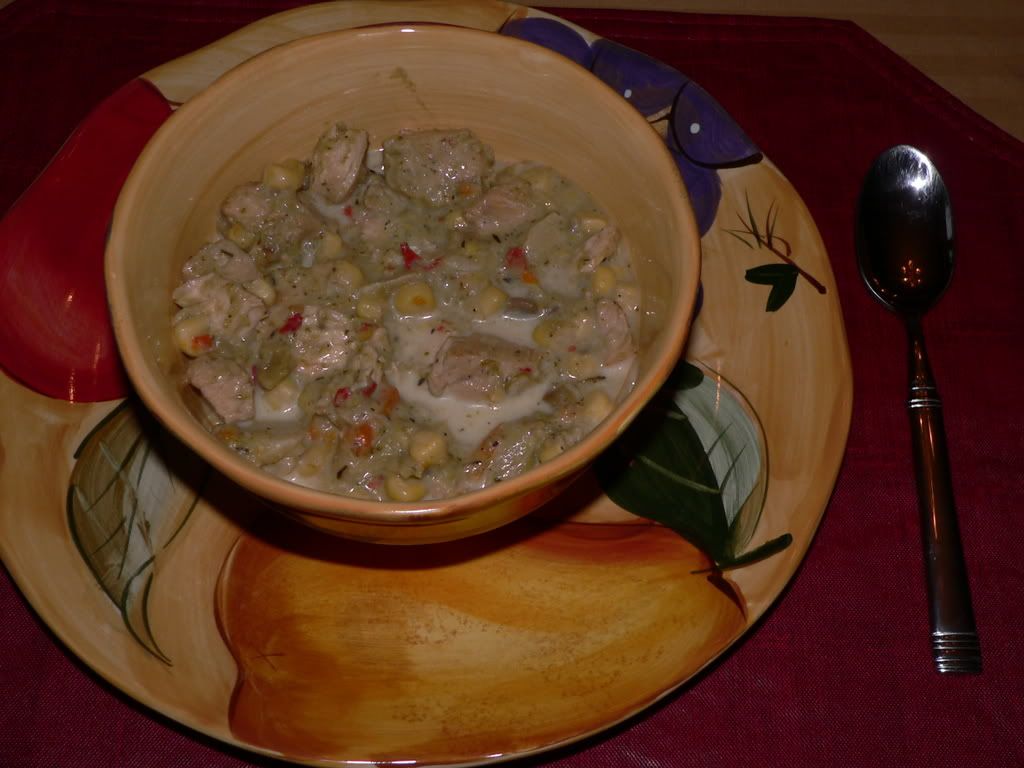
It's been raining and cold here for a few days, so I guess it's time go break out the crock pot and make some soup! Last night's recipe was a hit --it was yummy and really easy to make. It is a creamy, hearty chowder that looks like it was a lot of work. Nobody has to know you didn't slave over the stove for hours, or that you used frozen vegetables...LOL!

Here's a pic of how my batch turned out - (I took a pic of it cold -- it is really thick and creamy when hot!):

INGREDIENTS:

  • 1 T olive oil
  • 1/2 onion, chopped
  • 4 skinless chicken thighs or breasts cut into 1 inch pieces
  • salt and pepper to taste
  • 2 cloves garlic, pressed
  • 1/2 t thyme
  • 1 cup chicken broth
  • 10 ounces frozen broccoli, green beans, pearl onions, and red peppers, thawed (or similar medley if your store diesn't have this one)
  • 1/2 cup frozen corn, thawed
  • 1/3 cup half-and-half

In a skillet, heat olive oil oer medium-high heat. Add onion and chicken andcook til chicken starts to brown, salting and peppering as you cook. Add the garlic and thyme and cook for an additional minute.

Empty the contents of the skillet into a Crock-Pot and add remaining ingredients except the half-and-half. Cook on LOW about 4-6 hours, depending on your slow cooker, or until chicken is cooked through and veggie tender.

Turn the Crock-Pot to high; add the half-and-half, stirring well. Leave the lid off the Crock-Pot and let cook and additional 15 minutes or so (just long enough to make your salad and set the table.)

Serve in bowls with a large salad and whole grain rolls.

4 servings. (195 calories, 9 grams fat, 17 grams protein, 11 grams carbs per serving)


Saturday, August 18, 2007

Our Messy Art Cart


How do we make hands-on learning accessible to our children even when we are not available? How do we store all those artsy odds and ends? An art cart!


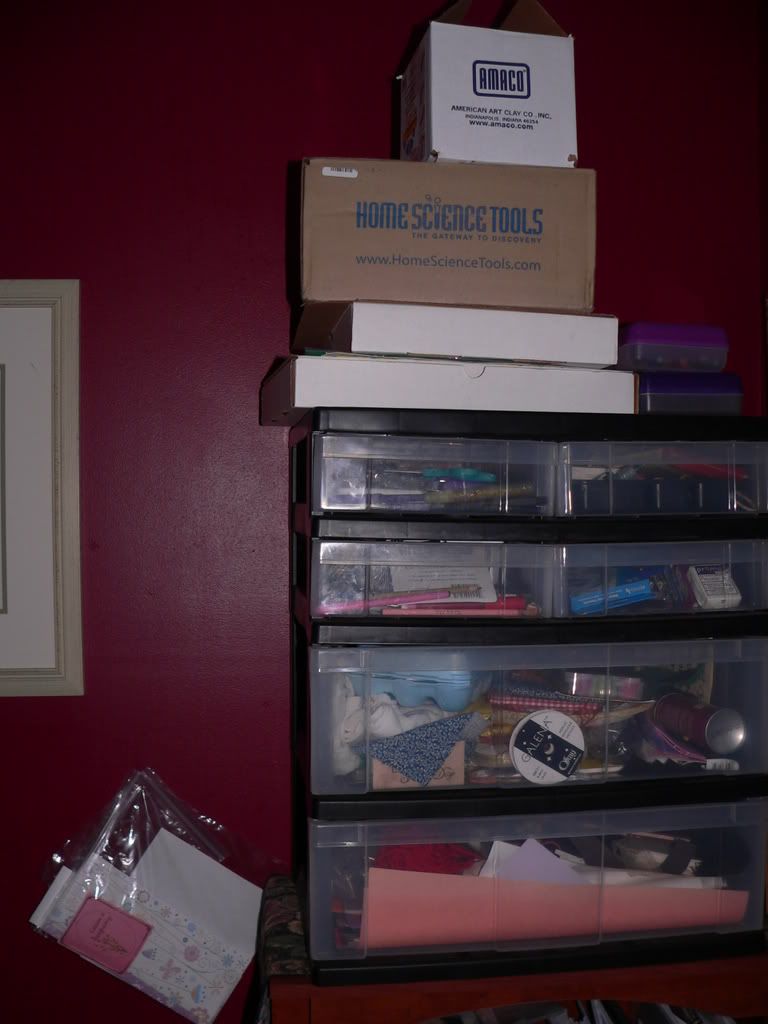
I am going to post pics of how my art cart looks at this very moment, resisting the urge to 'staighten up' before the photo. It is a bit embarrasing, but I am a self-admitted Messie. This a honest to goodness look at an art cart that gets used almost daily by a 10 year old! While not lovely to look at, our art cart is working for us. Hands-on learning is happening nearly daily during productive free time with or without Mom's involvement, and we are content!

Basically this was a cart I got from Office Max and it was, at one time, organized. : ) Instead of fixing it all up all the time and driving myself crazy, I just make sure all the hands-on materials get in, or on top of, the cart! It is in no way organized or neat...LOL!


Here are some items on top of the cart:

  • Air dry clay
  • colored pencils in pencil boxes
  • Hands and Hearts kits
  • Home Sciene Tools science kit


Some items in the drawers:

  • glitter glue
  • scrapbook paper
  • decorative scissors
  • tempera paint
  • watercolor paint
  • fabric paints
  • watercolor pencils
  • oil pastels
  • watercolor paper
  • pastel paper
  • glue sticks
  • craft glue
  • construction paper
  • colored Primo clay
  • sequins and other embellishments
  • different fabrics and odds and ends
  • fabric scissors
  • sewing kit
  • different types of yarns
  • ribbons
  • crochet hooks
  • colored beads and hemp
  • stamp pads
  • stickers
  • spray sealant
  • egg carton (for some project dd is planning?) - if there are cans, cartons etc to be saved for a future project, dd throws them in the art cart so she can retrieve them later.
The gallon bag hanging on the wall holds Dinah Zike-style mini-books and 3-D reports in progress.

I'm sure there are many other things I don't even know about that dd has collected in there!


It isn't pretty and organized, but it gets the job done. Somehow, by God's grace, dd can find anything she needs in our messy art cart. Someday, I will get around to organizing it.... Sigh.


So there it is, my 'real life' not-so-pretty art cart!

: )
Tami


Camp Grandma


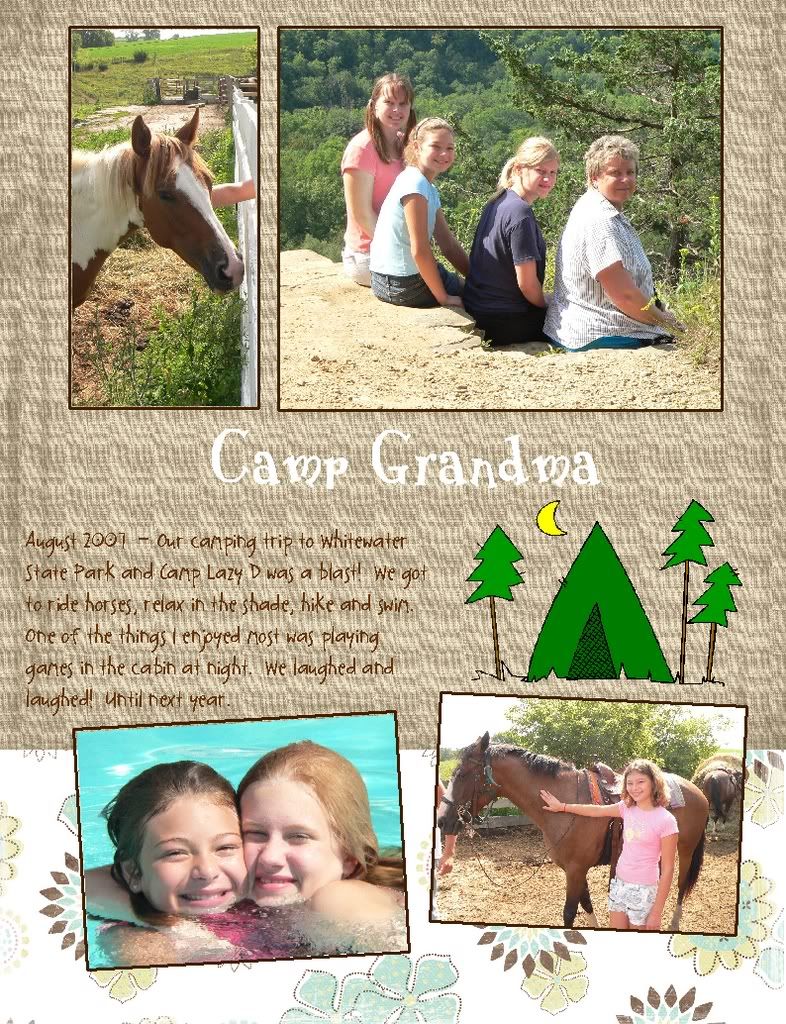
Just returned from our yearly all girls family camp out! This is a newer tradition for our family, begun 4 years ago. We stay in a cabin (air conditioned!) near a state park and play all week. Our version of 'camp' is pretty cushy and comfy, but we love it that way!

Here's a page of us on top of the bluffs, riding horses, and swimming in the pool.

I can't wait until next year!